This is a Bolt Action Game for this morning so far between Danny and I. Since this table was a 6'x 8' table, I set up a scenario for a fight. Essentially, the British Paras are on a mission to capture 3 key points on the map. All of them have a purpose. One along an intersection prevents German armor from coming on. Another at the farm held observers and snipers and needed to be taken for an HQ and to allow AT Guns on the table without being picked off. The third was the bridge to gain armored support with supporting infantry.
Deployment: The German were randomly rolled at various point randomly to find out what I had with a D-10. Armor could not come in until turn 3 on either sides. There was no flanking! The British deployed in the middle a table edge 24" in on both long sides with 6" in. All units started in hidden set up. All units had to spot a target before shooting it based on their Veterancy. Units that fired did not need to be spotted after they shot. Germans could not do run orders until the first shots were fired.
Deployment: The German were randomly rolled at various point randomly to find out what I had with a D-10. Armor could not come in until turn 3 on either sides. There was no flanking! The British deployed in the middle a table edge 24" in on both long sides with 6" in. All units started in hidden set up. All units had to spot a target before shooting it based on their Veterancy. Units that fired did not need to be spotted after they shot. Germans could not do run orders until the first shots were fired.
British Forces were 1st Lieutenant, Four full squads, two Vickers Machine Guns, one pack Howitzer, one light mortar, two PIAT teams. These were all on the table. Off table, one 17 pdr. AT Gun, one 6 pdr. AT Gun, two M5- Halftracks, two Infantry squads, and whatever is rolled for armor that can be up to six Cromwells or Four Sherman Fireflies with Cromwell tanks. (Armor was not rolled yet!)
Germans out of randomly rolling with exception of two units (8.8 Flak 36 and Pak40 AT Gun). Five squads of Fallshrimjaeger, one sniper, one medium mortar, one Nebelwerfer. The armor came on at turn 3, randomly rolling on a D-10: Three Panther Tanks, an Sd Kfz 222 armored car, and a half-track.
The game one made it to the beginning of turn 4 until we continue later. The main push to take the road intersection was blocked by one infantry only after a Fubar placed that squad into a better position. The Nebelwerfer never had a chance and was mowed down by the Paras! Another German squad was killed with nice shooting and a howitzer hit. Germans managed to kill a British para squad at point blank. The light mortar was picked off by a sniper. Great shooting killed off a Vicker Machine only to be assaulted by a para squad in revenge taking the bridge for some much need reserves. However, out of lucky rolling, the German gained three Panthers. I needed a roll of a 9 on a D-10 to get a Panther. The Half-track and armored car were a more common possibly.
To Be Continued..............
 |
| British Airborne advance! |
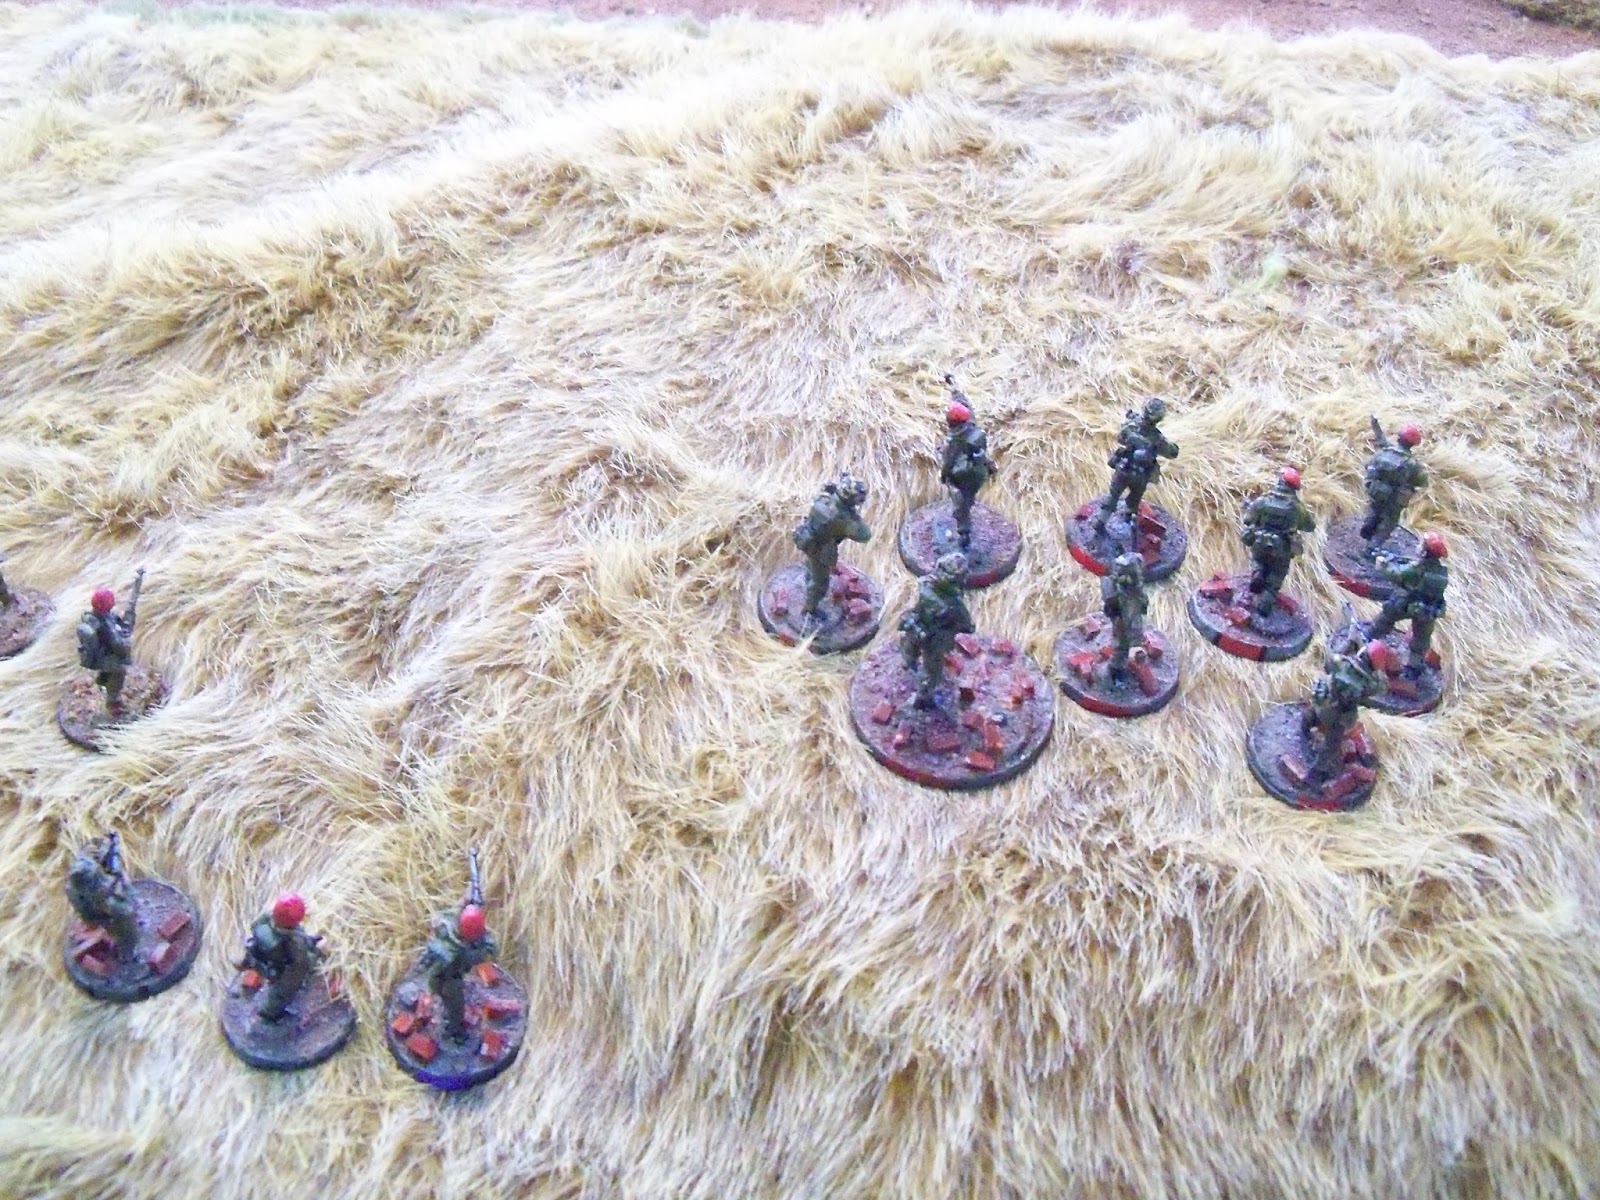 |
| More of them! |
 |
| German 8.8 Flak 36 AT/AA gun. |
 |
| Germans on patrol. |
 |
| More German positions. |
 |
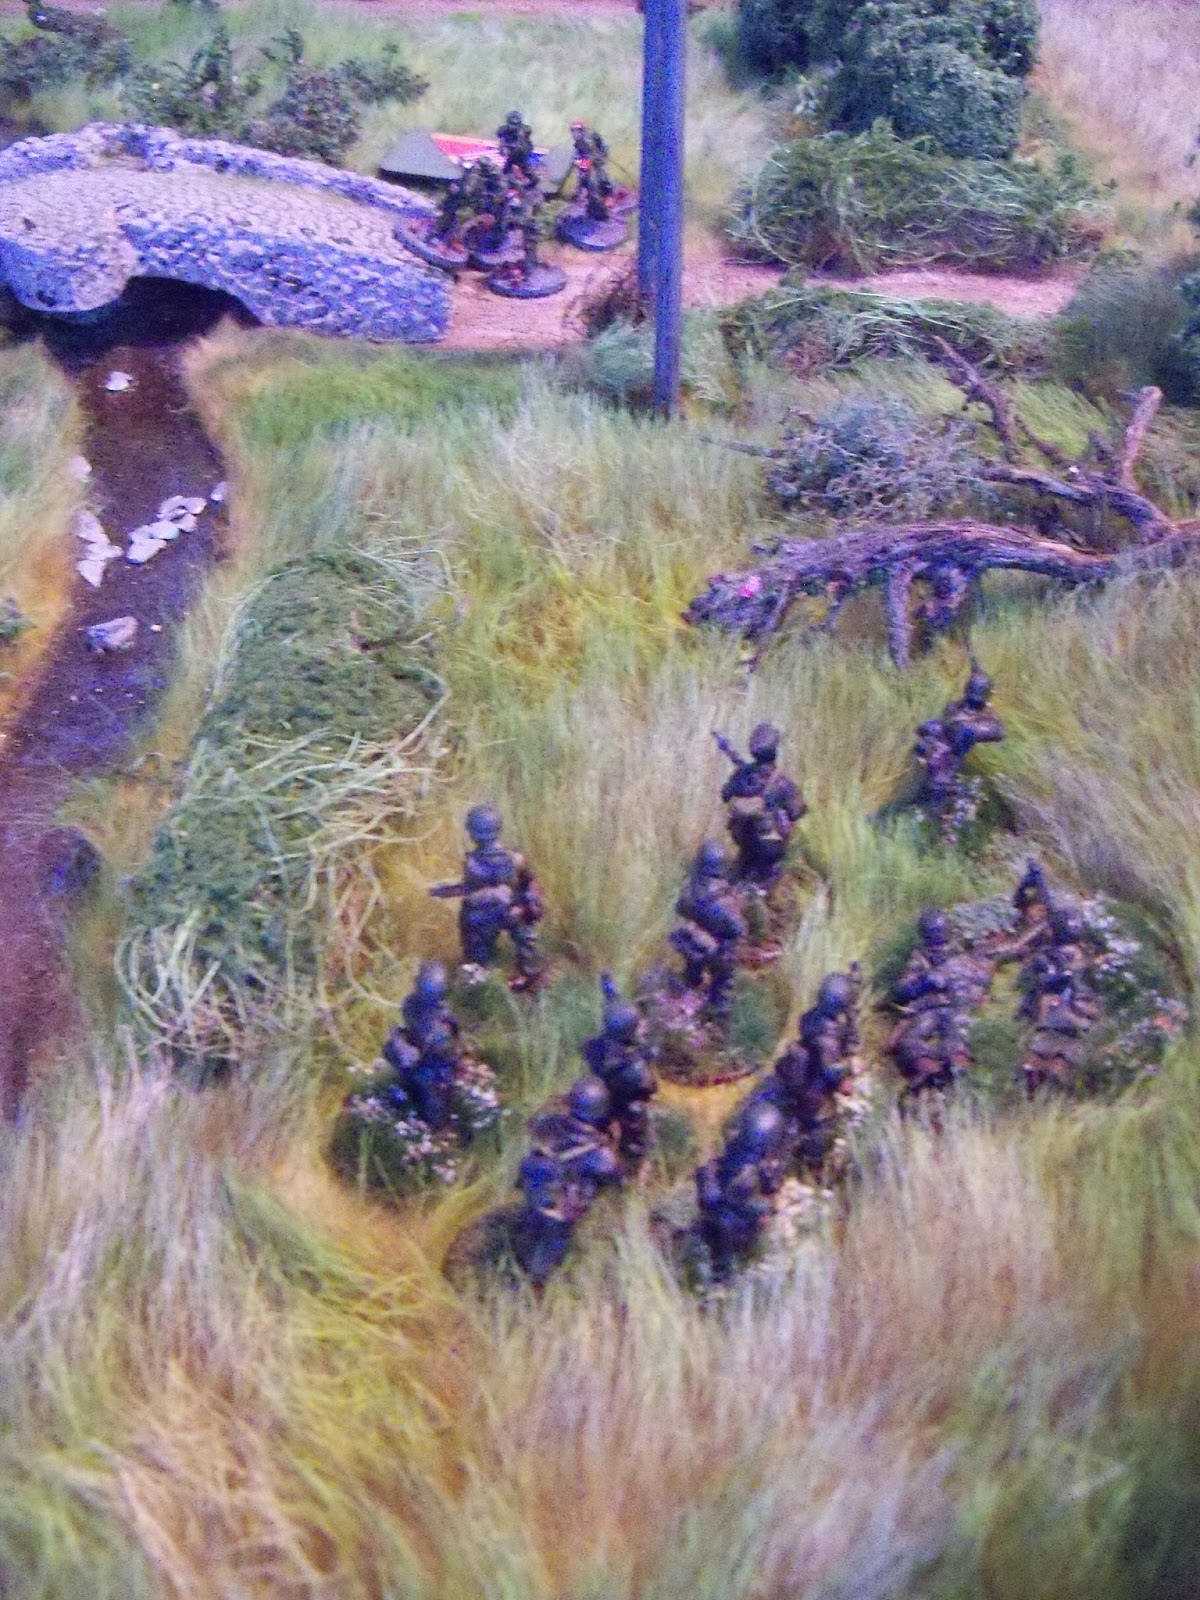
| Through the fields and across a stream. |
 |
| German Nebelwerfer crew is surprised by incoming Paras! |
 |
| They close in for the kill! |
 |
| The Red Devils dispatch the crew in short order. |
 |
| Another Para squad takes on Germans in the hedgerow. |
 |
| These Paras sneak up to the bridge. |
 |
| Some of the brave British dead. |
 |
| An Artillery round kills a full squad of Germans. |
 |
| Fighting back, he German lose some men in the road. |
 |
| What is left of the Vickers crew. |
 |
| This light mortar team was caught in the sights of a sniper. |
 |
| The intersection objective guarded by a Pak40 AT Gun. |
 |
| Panthers of the 9th SS Hohenstaufen Panzer Division appear to counter the British Airborne. |
 |
| A lucky turn out of rolls bring in three Panther Tanks into battle! |
No comments:
Post a Comment