
In the ever growing quest to upgrading terrain to a new standard for my wife and I's games, I have came up with plenty of new ideas. After all, I found that even the smallest of details make games more enjoyable. On a previous post Tree Life: Making New Trees, I shared my results on making trees as the ones in the picture above, but never really explained the "how to" of getting these results. And I am aware that I did not fully cover the trees in my hedgerow projects in my Terrain Blitz postings. I am kind of like a squirrel who buries nuts. I plant them and forget about them. Post, post, post....where was I, again?
Anyway, this is about the trees most likely from left over nuts. The things I use for making trees are fairly basic. This is the list of materials:
1. Round bases for the base.
2. Hot Glue Gun.
3. Loctite Control Gel
4. Brown Spray Paint (Flat)
5. 3M Spray Adhesive
6. Super Trees. This is the main part.
7. Sticks.
8. Leave Flock of some type like Noch Leaves or Super Leaf.
 |
| Sorry for the slight blur in this photography. If I had known it blurred, I wouldn't have thrown the box away. |
 |
| I made a random dead tree with vines just because it was interesting! |
When it comes to attaching the arms of the trees, I used Loctite Control Gel to glue on the branches. I tend to place the sea foam branches along a branch of the stick ending in a joint. I glue it along and in the joint to secure the sea foam. The Loctite Control Gel can glue things fairly solid in about 30 seconds to a minute lessening the time and allowing you to carry on with more tree building fun. You will find that it is gets easier, the more you build.
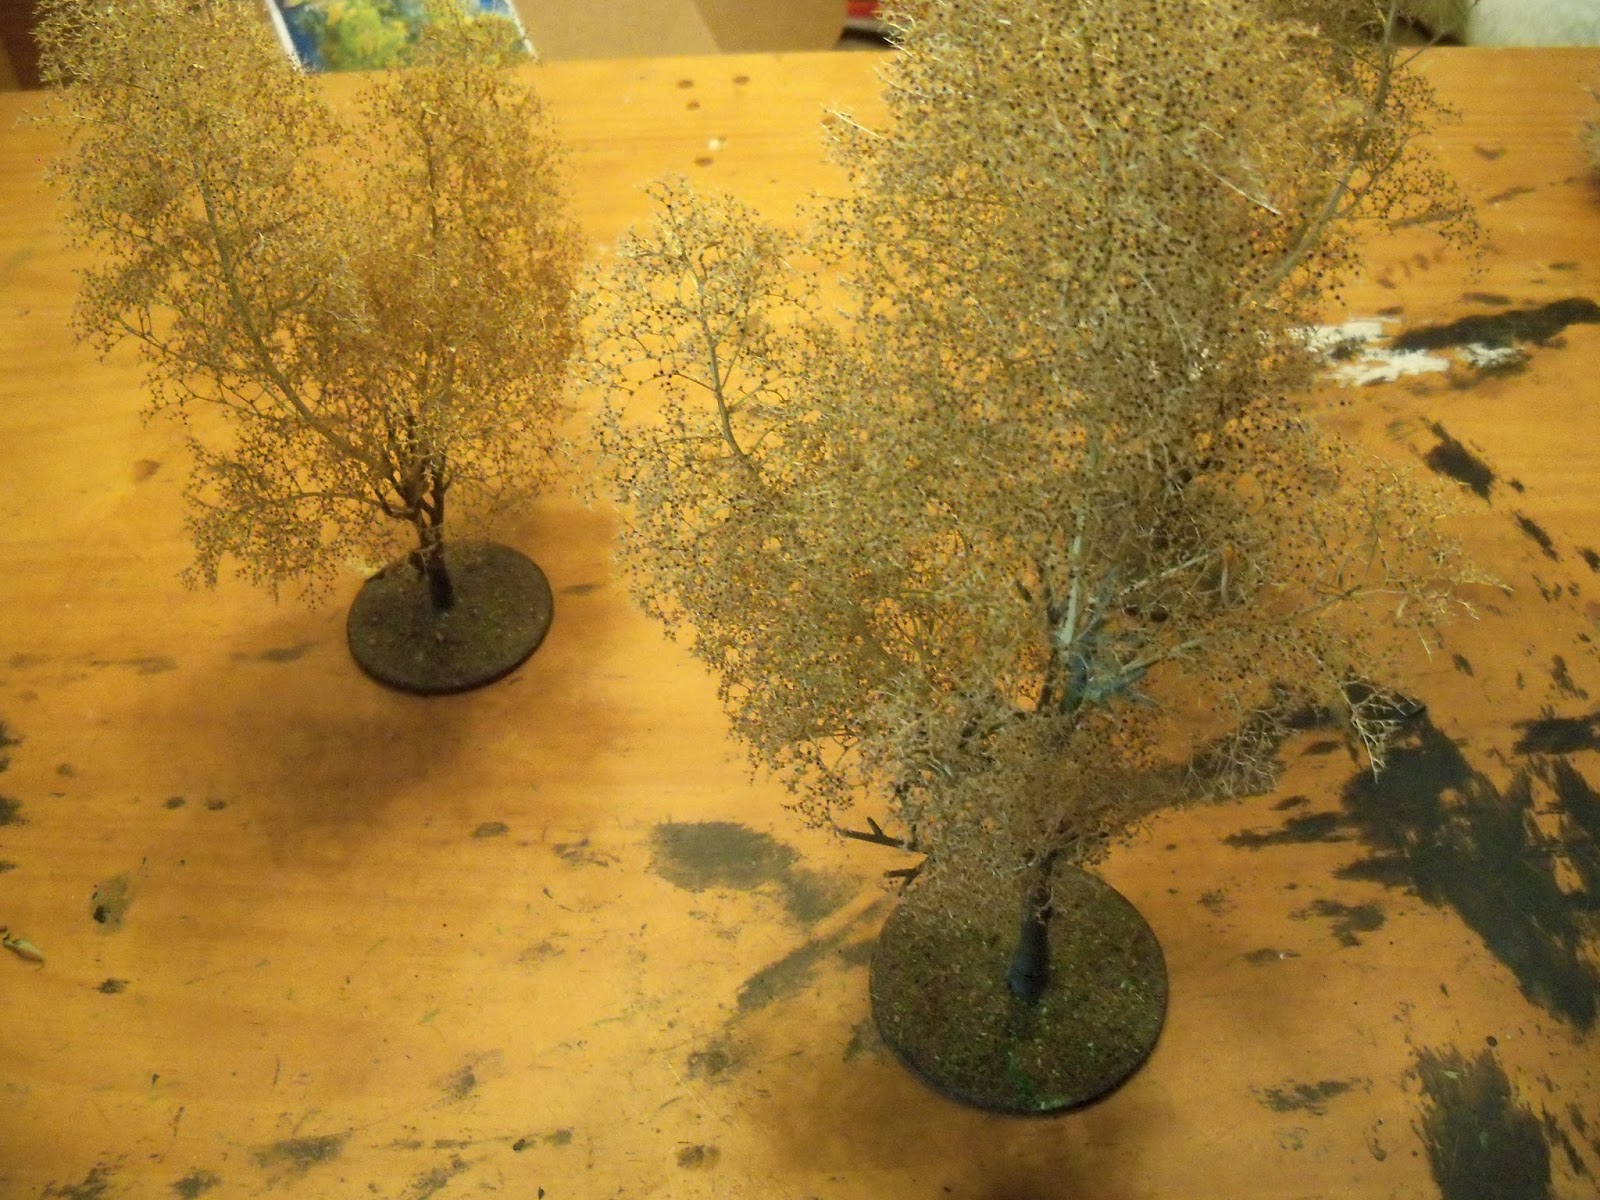 |
| As you can see, these are trees using Sea Foam branches glued to Woodland Scenics plastic trees. I just happen to have some leftover Woodland Scenics trees that I never finished lying around in a box I forgot about. The projects I forget about! |
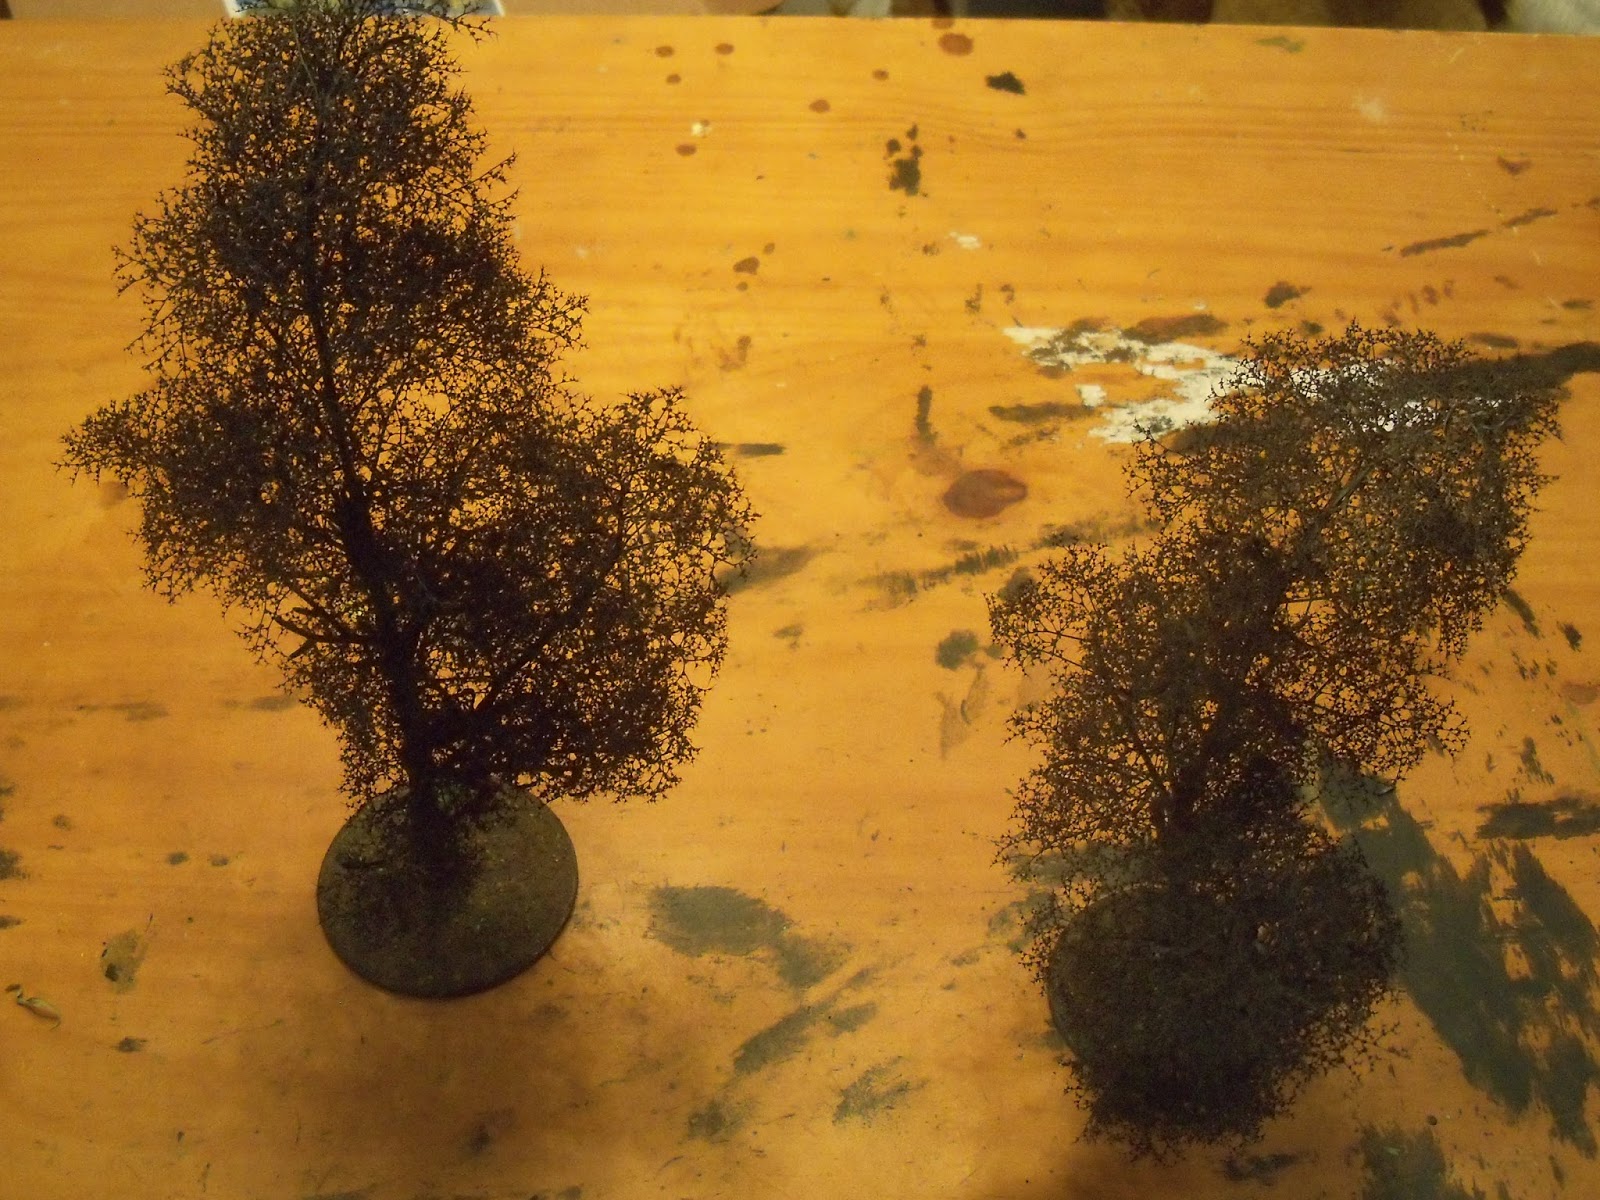 |
| Blended together with spray paint! Some might just spray paint the trees only. It might have a neat effect for early spring. |
After the blending has been done, there are two things to do next with no particular order. One, you can paint and highlight the trunk and branches in areas that might be seen to other gamers on your table. This can be done before or after the flocking of your tree. The benefit of doing this after the flocking is that you do not have to use as much paint. Nothing is more annoying that painting something that is covered later. Second, thing is to flock the trees. Now, I used spray adhesive for the flocking. You can go about it with brushing glue on lightly, but this would take longer. When, spraying glue on, do this outside! And I mean outside, not in a garage or shed. The flumes tend to be really strong. You want to spray in down fairly close with short shots in the desired areas. It might look funny, but you want it to look like you spray painted it white. After that, you want to shake or sprinkle on the leaves. Shake off the extras by tapping the base, and repeat with adding leaves and you will have your first tree.


 |
| Just a shot of the trunks to see how the Woodland Scenics worked. |
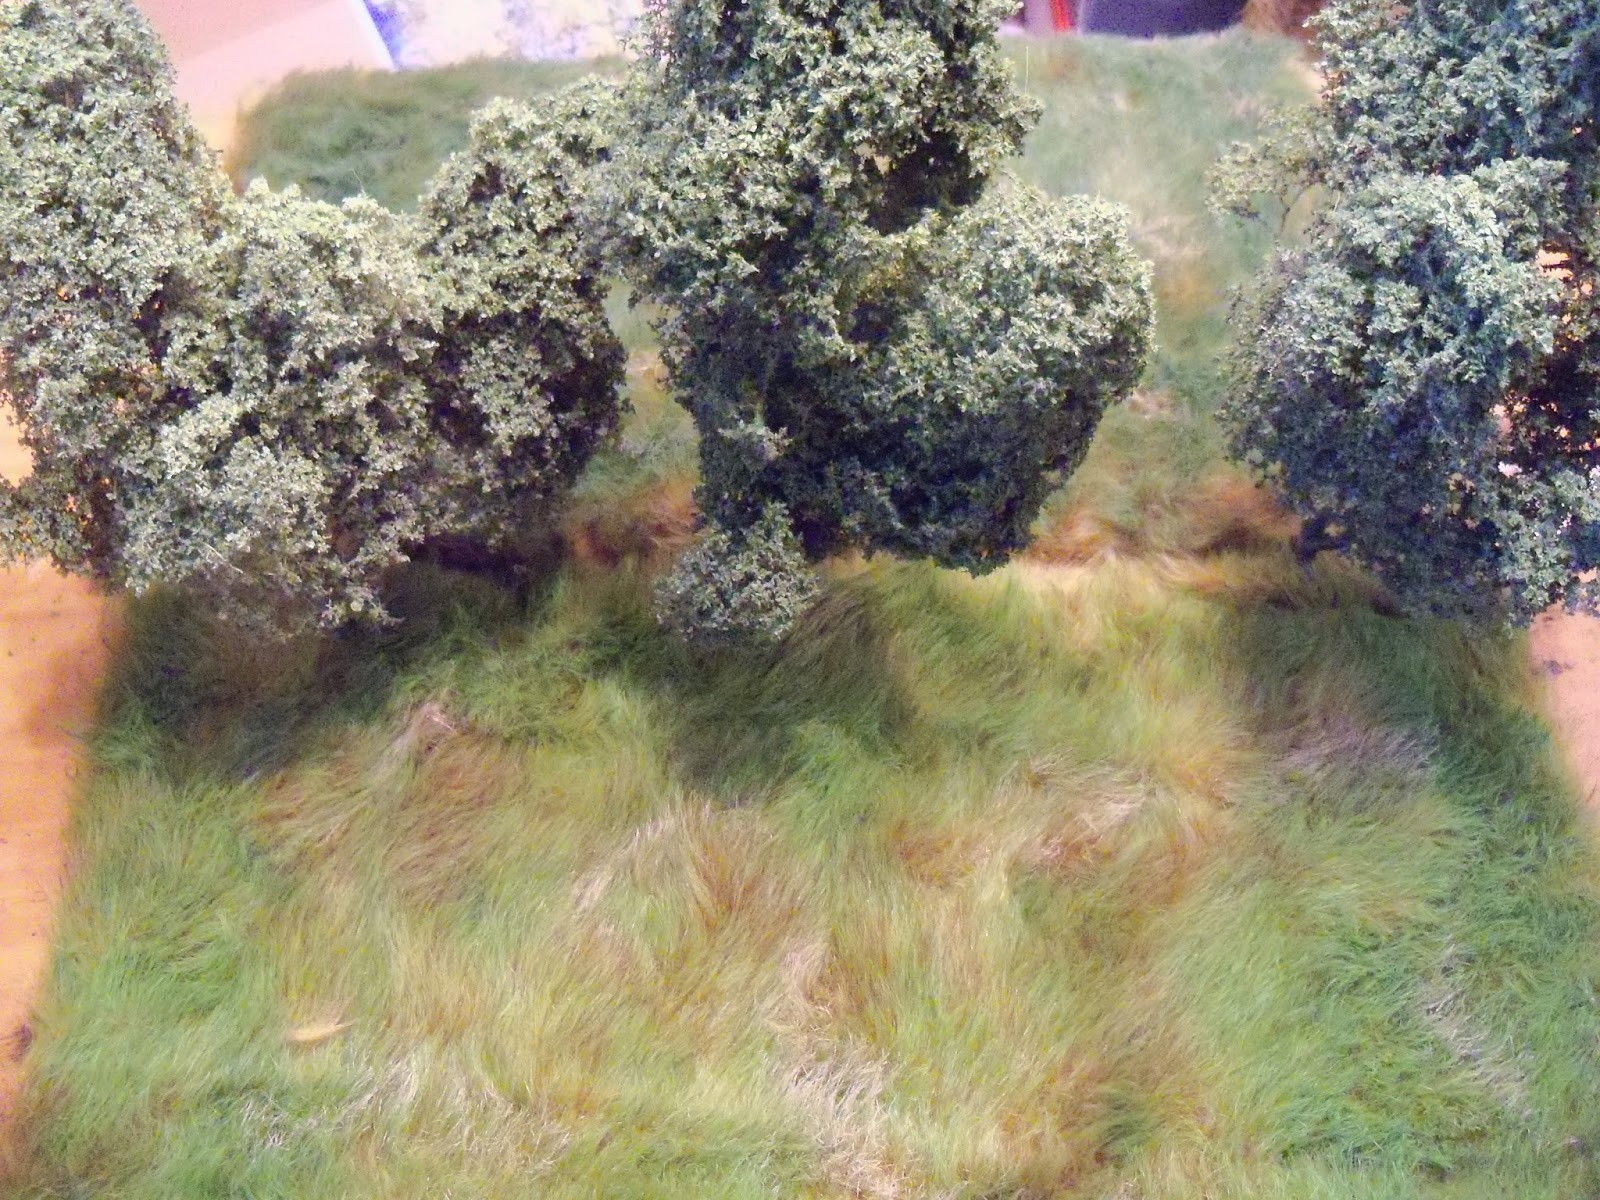 |
| The three new trees. |
No comments:
Post a Comment