
Despite being a holiday weekend of Thanksgiving, we still had friends come over. I figure this was a nice way to escape the in-laws and such. Kalissa and I still had a busy time, but it was nice to have friends over to play games. In this case, our friends Hugh and Bill wanted to test out the recent release of "Pickett's Charge." Between the both of them, I usually describe them as "Rule Hoarders." It sounds insulting, but they both know that this is true. They are always collecting rules sets. I even imagine that if either of them did not have significant others in their lives, there would be libraries of rules in their houses. One can say, "Thank the Lord, for PDF's!" But their rule hoarding ways are great for Kalissa and I, because we get to look at and get the rundown of various rules sets without buying them in hopes they will be good. In a way, it is like we use them. However, Bill countered that by saying they use us for terrain and a place to play. Touche!
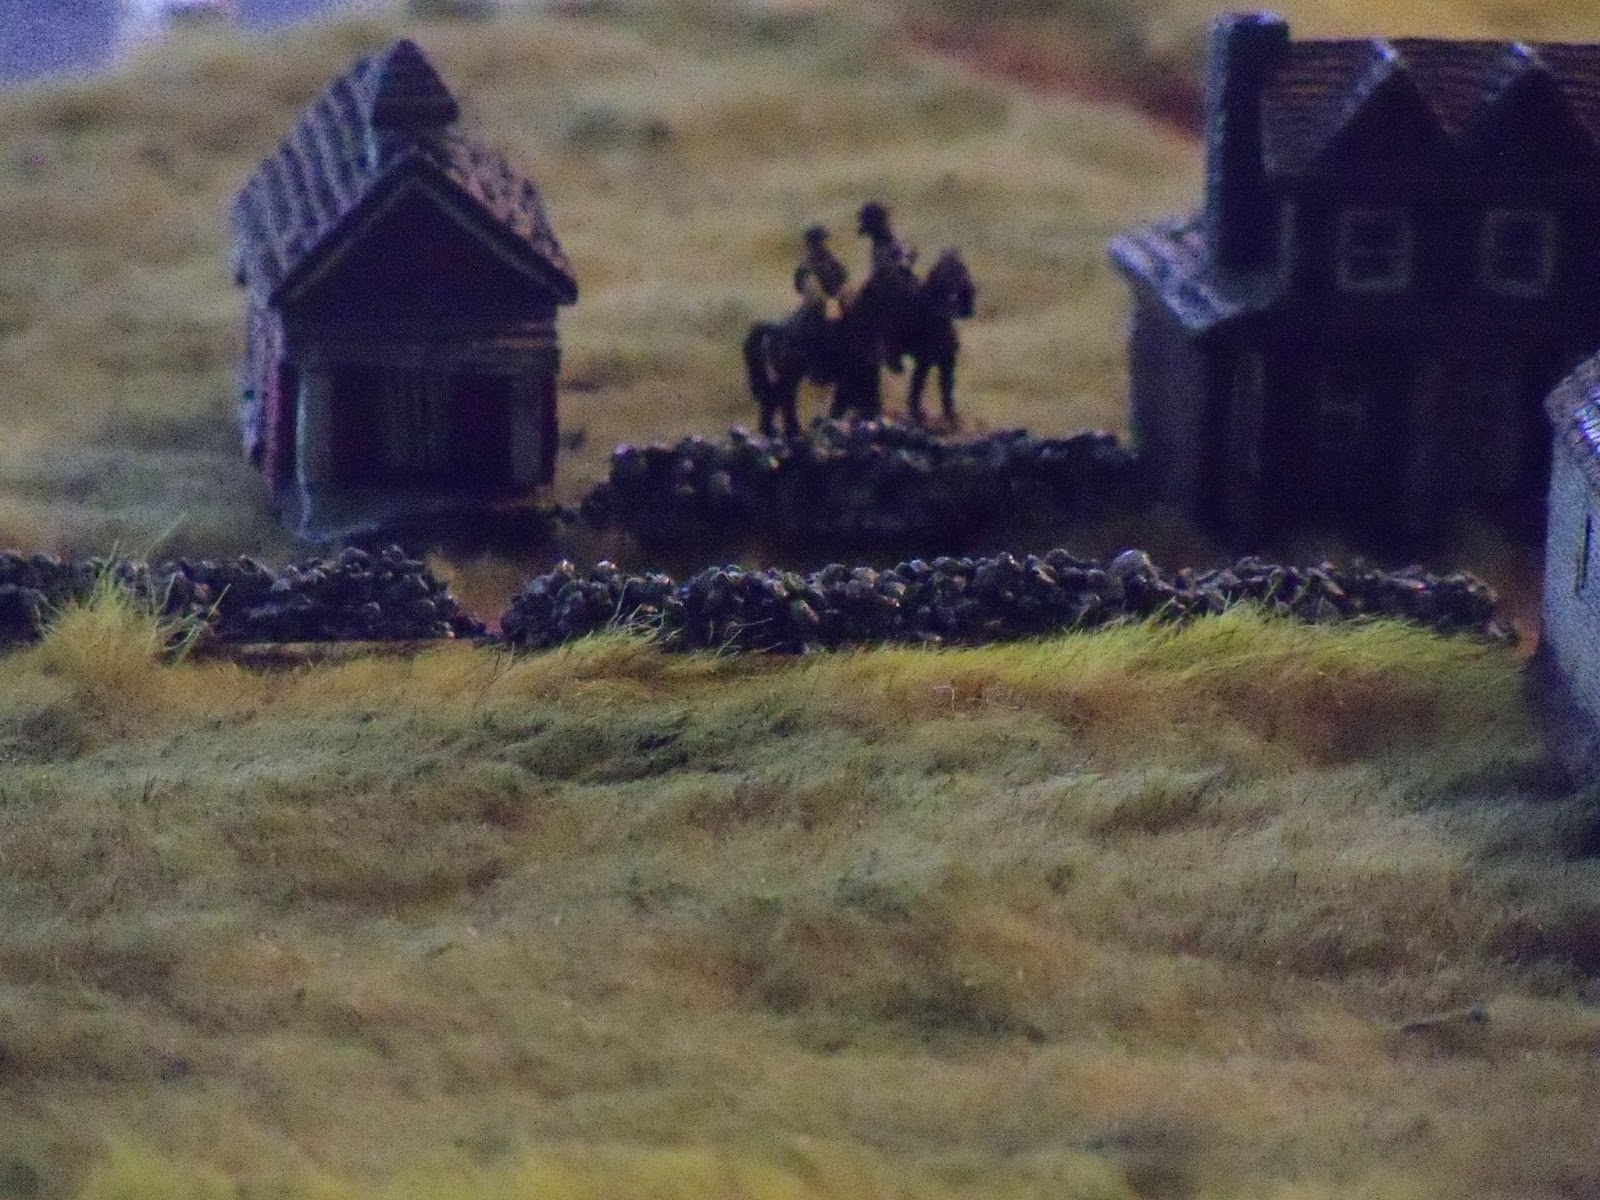
Since I knew they wanted to test these rules in advance, I actually made a quick board on Friday for it. It was something to keep me busy, since there was no way in this world that we were going shopping on Black Friday! Though, it was not a complete board, I figured it would do the trick! Hugh set up the rest of the table when came over with his buildings. He also brought over his 15 mm Civil War troops for both sides. Hugh was the Confederates. Bill was the Union.
For the game, "Pickett's Charge" seems pretty simple. The game works with initiative to decide who goes first. Then, it is rolling for brigade orders that may or may not go through. Then, there were charge declarations, movement, shooting, and morale tests during the shooting. What I thought was interesting was the trouble Hugh had getting the Confederates to move and do things. He also never once won the initiative. However, this did not seem to matter towards the end with the various charges. The Union lines faltered under the pressure and casualties that the Confederates inflicted. The Confederates got reinforcements, where as, the Union reserves failed to show up.
Overall, I think what made these rules interesting to me was there was no grantee that your brigade commanders would follow through on orders. This was especially important towards closer engagements, since both sides would have had some serious casualties against them. I also liked the blind set up. You mark where you troops are in advance and place them down at their positions at the start of the game. Then, you have to deal with the decisions made in deployment. It is not as tactical as "Sharp's Practice," but being in a larger scale of troop formations, it works for a smooth interesting game.


No comments:
Post a Comment